
Financing

If you are interested in financing to fund your Bay-Lynx purchase, we recommend that you connect with Easylease Corp., a Canadian-based leasing and finance company that offers premier equipment leasing and financial services. They are focused on making it easier than ever before for companies to overcome cash flow and resource constraints to acquire the assets they need to grow their business.

Leasing through Easylease Corp. can offer several benefits:

  • Conserve Cash Leasing
  • 100% Financing
  • No Pre-Payment of Taxes
  • Preserve Lines of Credit
  • Potential Income Tax Benefits
  • Pay as You Profit
  • Match Revenue with Expenditures
  • Simple, Convenient Process
  • Tailored Payments

Click here for your Canadian instant lease quote >>

For US customers, Click here for your instant lease application >>

7 Tips for Choosing the Best Commercial Meat Mixer

Choosing the best commercial Meat Mixer requires more than comparing motor power and bowl capacity. In busy kitchens, performance appears in small details: how evenly the blades fold chilled meat, how quickly the bowl empties, and how easily staff can clean every corner. A machine may look impressive in a brochure, yet feel unsuitable beside a crowded preparation table.

Practical experience shows that the correct choice depends on production volume, recipe texture, available space, and daily cleaning routines. A butcher shop mixing 40 kilograms per hour needs different equipment from a central processor handling several batches every morning. Operators should examine stainless-steel construction, mixing speed, overload protection, control simplicity, and access to replacement parts. Noise also matters when workers stand near the machine for long shifts. So does stability. A mixer that moves during operation creates unnecessary risk and frustration.

No checklist is perfect. Specifications can mislead.

This guide presents seven practical tips for evaluating a commercial Meat Mixer with greater confidence. It considers capacity, mixing action, sanitation, energy use, durability, maintenance support, and total operating cost. These factors should be checked against real production conditions, not isolated numbers. A dependable decision also includes trial testing, supplier questions, and honest reflection about future demand. Buying the largest machine is not always wise. Sometimes, a simpler model delivers better control, easier cleaning, and fewer avoidable problems.
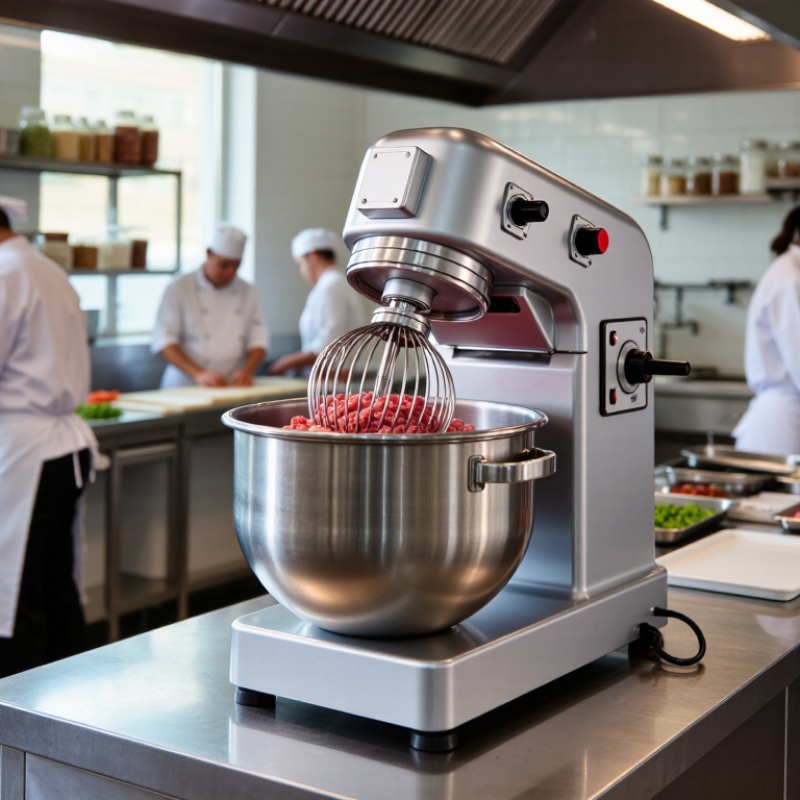
7 Tips for Choosing the Best Commercial Meat Mixer

Define Your Production Needs and Mixing Objectives

Choosing the best commercial meat mixer starts with your production needs, not the machine’s advertised capacity. Record daily output, batch size, mixing time, product temperature, and ingredient ratios. A 100-kilogram batch may behave differently when it contains lean meat, ice, fat, or brine. The mixer's working capacity should leave room for movement. An overfilled bowl can create dry pockets and uneven protein extraction.

Your mixing objective must be equally clear. Are you blending sausage evenly, developing a sticky protein bind, or gently combining delicate ingredients? Paddle, ribbon, and planetary designs create different shear levels. Excessive shear can warm the mixture and damage texture. Track the product temperature before and after mixing. This simple check often reveals more than a sales brochure. FAO reported that approximately 14% of global food is lost between harvest and retail, so reducing rework and rejected batches deserves serious attention (FAO, The State of Food and Agriculture 2019).

Sanitation and labor also shape the correct choice. Measure cleaning time, access points, loading height, and the number of operators required. USDA FSIS guidance emphasizes hygienic equipment design and effective cleaning controls for meat-processing environments. Do not assume the largest mixer is the most efficient. I once treated capacity as the main requirement; that decision ignored changeover time and increased downtime. A better evaluation compares usable batch volume, energy use, discharge speed, and repeatability under real production conditions. Test your actual formulation before purchasing. That step may expose inconvenient weaknesses.

7 Tips for Choosing the Best Commercial Meat Mixer - Define Your Production Needs and Mixing Objectives

Tip Production Dimension Typical Operating Data Mixing Objective Recommended Mixer Considerations Key Verification Metric
1 Define daily production volume Small operations: under 500 kg/day
Medium operations: 500–2,000 kg/day
High-volume operations: over 2,000 kg/day
Complete the required volume within the available production window without overloading the mixer. Select a working batch size that supports the daily target with practical loading, unloading, and cleaning time. Required batches per day and total cycle time
2 Match batch size to actual load weight Common commercial batch ranges: 25–100 kg, 100–300 kg, and 300–1,000 kg Maintain consistent contact between the mixing tools and the meat mixture. Compare usable working capacity—not only the vessel's maximum geometric volume. Avoid routinely operating below the minimum effective load or above the rated working load. Batch weight consistency and percentage of usable capacity
3 Identify the product formulation Typical products include fresh sausage, ground meat blends, burger mixes, meatballs, and products containing brine, seasonings, or inclusions. Distribute fat, lean meat, water, salt, seasonings, and other ingredients evenly without damaging the desired texture. Use adjustable mixing speed and suitable paddle, ribbon, or screw geometry according to product viscosity and inclusion size. Ingredient distribution, texture, and visible separation after mixing
4 Choose the appropriate mixer configuration Paddle mixers are commonly used for gentle blending; ribbon or screw mixers can support heavier or more cohesive mixtures; vacuum systems are used when air reduction is required. Achieve the required blend while controlling shear, aeration, and product movement. Consider paddle direction, shaft arrangement, variable-speed control, vacuum capability, and discharge method. Mixing uniformity, product temperature rise, and air incorporation
5 Control mixing time and speed Many formulations require a short, controlled cycle, but the correct time depends on load size, temperature, ingredient order, and mixer geometry. Reach the target blend without excessive heat generation, protein extraction, or texture breakdown. Prefer programmable controls, repeatable speed settings, timer functions, and recipe storage where production consistency is important. Cycle time, product temperature before and after mixing, and batch-to-batch variation
6 Evaluate sanitation and operator safety Food-contact surfaces should be corrosion-resistant, smooth, accessible, and designed to minimize product retention. Reduce cross-contamination risk and support consistent cleaning between product changes. Check stainless-steel food-contact parts, removable components, guarded moving parts, emergency stops, interlocks, and drainage access. Verified cleaning time, retained product after discharge, and safety inspection results
7 Calculate installation and operating requirements Important factors include floor area, loading height, electrical supply, water access, drainage, lifting equipment, and product discharge route. Integrate the mixer into the production line without creating bottlenecks or unsafe manual handling. Confirm motor rating, voltage, phase, discharge height, access for maintenance, and compatibility with upstream and downstream equipment. Throughput per labor hour, energy use per batch, downtime, and material-handling time
Planning note: Working capacities and operating ranges are general commercial guidelines. Final mixer selection should be confirmed through product trials using the actual formulation, ingredient temperature, batch weight, and required production schedule.

Compare Mixer Types, Capacities, and Batch Requirements

Choosing the best commercial meat mixer starts with the batch, not the machine. USDA ERS reported about 225 pounds of red meat and poultry disappearance per U.S. consumer in 2023. That volume creates pressure for consistent mixing and shorter handling time.

Tip 1: Match mixer type to the recipe.

Paddle mixers suit ground meat and gentle blending. Ribbon mixers handle dry seasonings and larger, even batches. Vacuum mixers can reduce trapped air, but they demand stronger seals and more maintenance.

Tip 2: Measure real batch weight.

A 100-kilogram bowl should not routinely process only 20 kilograms. Underloading can reduce contact between meat and paddles. Overloading creates uneven seasoning and motor strain. I have seen capacity sheets look perfect, yet production staff needed two extra mixing cycles.

Tip 3: Compare usable capacity, not advertised volume.

Meat density changes with fat, ice, and added liquid. Leave working space for product movement.

Tip 4: Check batch requirements across peak and slow shifts.

PMMI’s 2024 food-processing trends report identifies labor efficiency and flexible production as major equipment priorities. A flexible mixer may protect output when orders change suddenly.

Tip 5: Record mixing time and discharge speed during trials.

Tip 6: Inspect cleanability closely.

USDA FSIS sanitation guidance emphasizes hygienic surfaces, drainage, and contamination control.

Tip 7: Confirm power, floor space, loading height, and operator access.

These details are easy to overlook. A smaller mixer may outperform a larger one when changeovers are frequent, though the decision deserves another production trial.

Evaluate Construction Materials, Hygiene, and Cleaning Access

Tip 1: Inspect the construction materials closely. Food-contact surfaces should use durable, corrosion-resistant stainless steel with smooth, sealed welds. Rough seams can trap meat particles and moisture. Check the frame, paddles, shaft, and guards, not just the mixing bowl. A sturdy machine should remain stable when handling dense batches. I once overlooked a narrow joint; cleaning it took far longer than expected.

Tip 2: Treat hygiene as a daily operating requirement. Choose a mixer with rounded corners, minimal crevices, and accessible seals. Meat residue should be visible during inspection, not hidden behind permanent covers. Ask whether every food-contact component can be removed without specialized tools. Follow the manufacturer’s cleaning instructions and applicable food-safety requirements. Keep sanitation records, even when the process feels routine.

Tip 3: Test cleaning access before purchase. Open the discharge area, remove the paddles, and inspect the underside of the bowl. Can an employee reach these areas without stretching or using excessive force? Look for drain paths that prevent standing water after washing. Removable parts may improve hygiene, but loose fittings can create new risks. Handle them in person if possible. A specification sheet cannot reveal every awkward angle.

This checklist converts seven practical purchasing tips into verifiable inspection points. Prioritize mixers with food-contact materials that can be documented, smooth and accessible hygienic surfaces, effective drainage, removable components, and clear maintenance instructions. The values represent the number of checks in each category, not laboratory test results.

Check Motor Power, Controls, Safety, and Operating Efficiency

Tip 1: Match motor power to the heaviest real batch, not the average recipe. A mixer that stalls during cold, dense meat wastes time and overheats components. The U.S. Department of Energy’s Motor Systems Market Assessment estimates motor-driven equipment consumes about 46% of U.S. manufacturing electricity. Oversizing also creates unnecessary energy costs. Power is not everything.

Tip 2: Check whether variable-speed control provides steady mixing without excessive shear.

Tip 3: Choose controls with clear load displays, recipe settings, and fault alerts. Operators should see overloads before the motor trips.

Tip 4: Measure energy use per batch, throughput, and cleaning downtime. My practical preference is simple: record amperage during a full production cycle. Catalog efficiency claims rarely reflect sticky, chilled meat.

Tip 5: Inspect lid interlocks, emergency stops, guarded drive parts, and lockout points. OSHA guidance supports preventing access to moving machinery during operation and servicing.

Tip 6: Confirm that the bowl, paddles, and seals can be cleaned without hidden residue pockets.

Tip 7: Compare operating efficiency over several batches, not one demonstration. The UNEP Food Waste Index Report 2024 estimates 1.05 billion tonnes of food were wasted in 2022. Consistent mixing can reduce rejected batches, although it cannot solve poor weighing or weak training. I would not trust a spreadsheet alone. Listen for vibration, feel unusual heat, and ask operators what fails on busy days.

Assess Maintenance Support, Warranty Coverage, and Total Cost

7 Tips for Choosing the Best Commercial Meat Mixer

Choosing the best commercial meat mixer requires more than comparing motor power and bowl capacity. Maintenance support often determines whether a machine earns money or interrupts production. Ask who provides technical help, how quickly they respond, and whether trained technicians serve your area. Get details in writing. A useful supplier should explain cleaning access, lubrication points, spare-part availability, and recommended inspection intervals. During a site visit, check the discharge door, shaft seals, and control panel for awkward gaps. Small design flaws become daily labor.

Warranty coverage deserves careful reading, not a quick glance at a sales sheet. Confirm the coverage period for the gearbox, motor, controls, and food-contact components. Ask whether labor, transport, diagnosis, and replacement seals are included. Also check exclusions for overloading, poor cleaning, voltage problems, or unauthorized repairs. A short warranty is not always weak. A clear one can be more dependable than a long, vague promise. Record serial numbers, service calls, and maintenance work from day one. That evidence can protect your claim later.

Total cost includes purchase price, installation, electricity, sanitation time, downtime, training, and parts. Estimate mixer hours per week, batch size, and labor minutes per cleaning cycle. Then compare those figures across three to five years. I would not trust optimistic savings alone. A cheaper mixer may need frequent seal replacement or longer cleaning. We once overlooked setup time, and the budget changed quickly. Leave room for repairs and production peaks. Before signing, request a sample service schedule and two realistic repair scenarios.